Strut Channel
Filter
34 items
content loaded
Item pricing and delivery options may vary based on location. Select your local branch for best pricing.
Item pricing and delivery options may vary based on location. Select your local branch for best pricing.
Item pricing and delivery options may vary based on location. Select your local branch for best pricing.
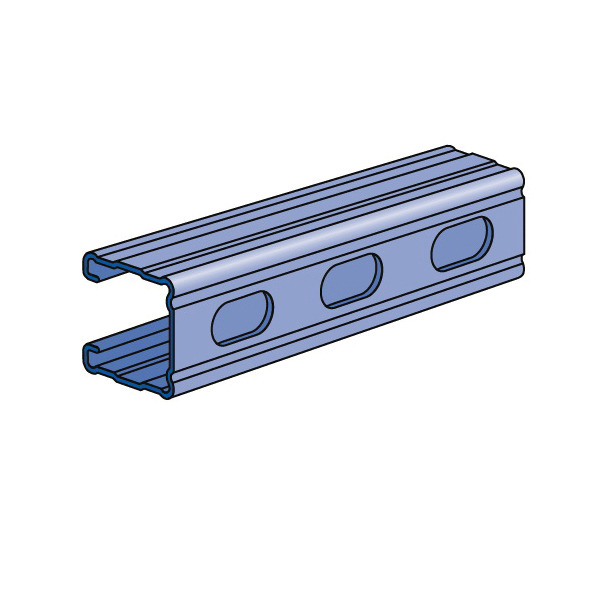
SKU#:771A1012GHG
MFG#:H132OSX10PG
Item pricing and delivery options may vary based on location. Select your local branch for best pricing.
Item pricing and delivery options may vary based on location. Select your local branch for best pricing.

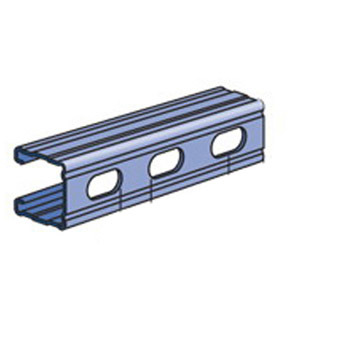
SKU#:202G582OS2PO
MFG#:G582OS2POP
Item pricing and delivery options may vary based on location. Select your local branch for best pricing.
Item pricing and delivery options may vary based on location. Select your local branch for best pricing.
Item pricing and delivery options may vary based on location. Select your local branch for best pricing.
Item pricing and delivery options may vary based on location. Select your local branch for best pricing.
Item pricing and delivery options may vary based on location. Select your local branch for best pricing.
Item pricing and delivery options may vary based on location. Select your local branch for best pricing.
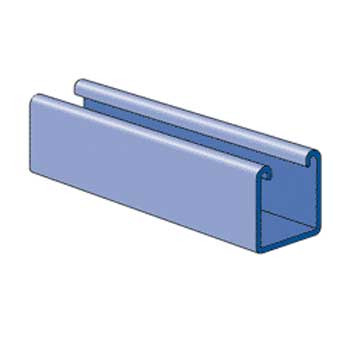
SKU#:771A1012GHG
MFG#:H132OSX10PG
Item pricing and delivery options may vary based on location. Select your local branch for best pricing.
Item pricing and delivery options may vary based on location. Select your local branch for best pricing.
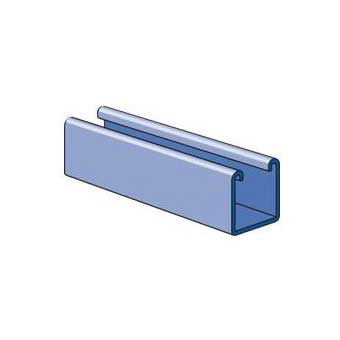
SKU#:202G582OS2PO
MFG#:G582OS2POP
Item pricing and delivery options may vary based on location. Select your local branch for best pricing.
Item pricing and delivery options may vary based on location. Select your local branch for best pricing.
Item pricing and delivery options may vary based on location. Select your local branch for best pricing.