Rotary Lasers
Filter
94 items
content loaded
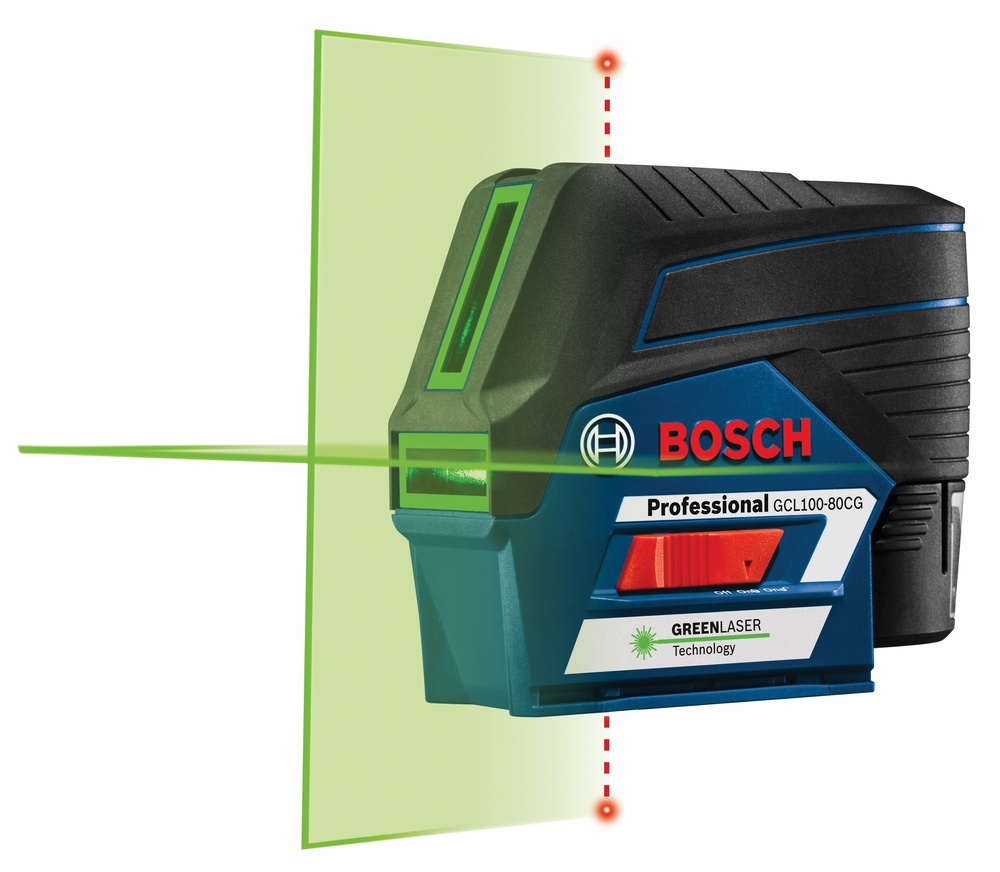
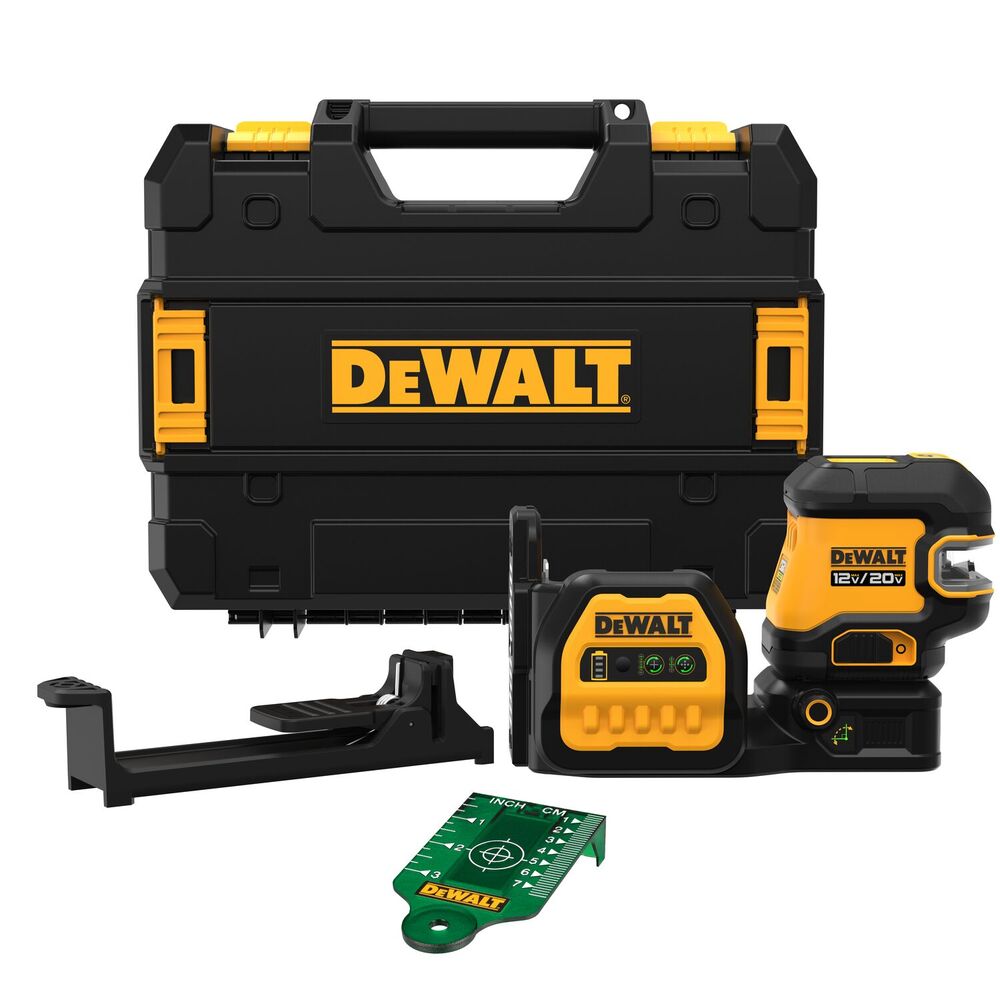
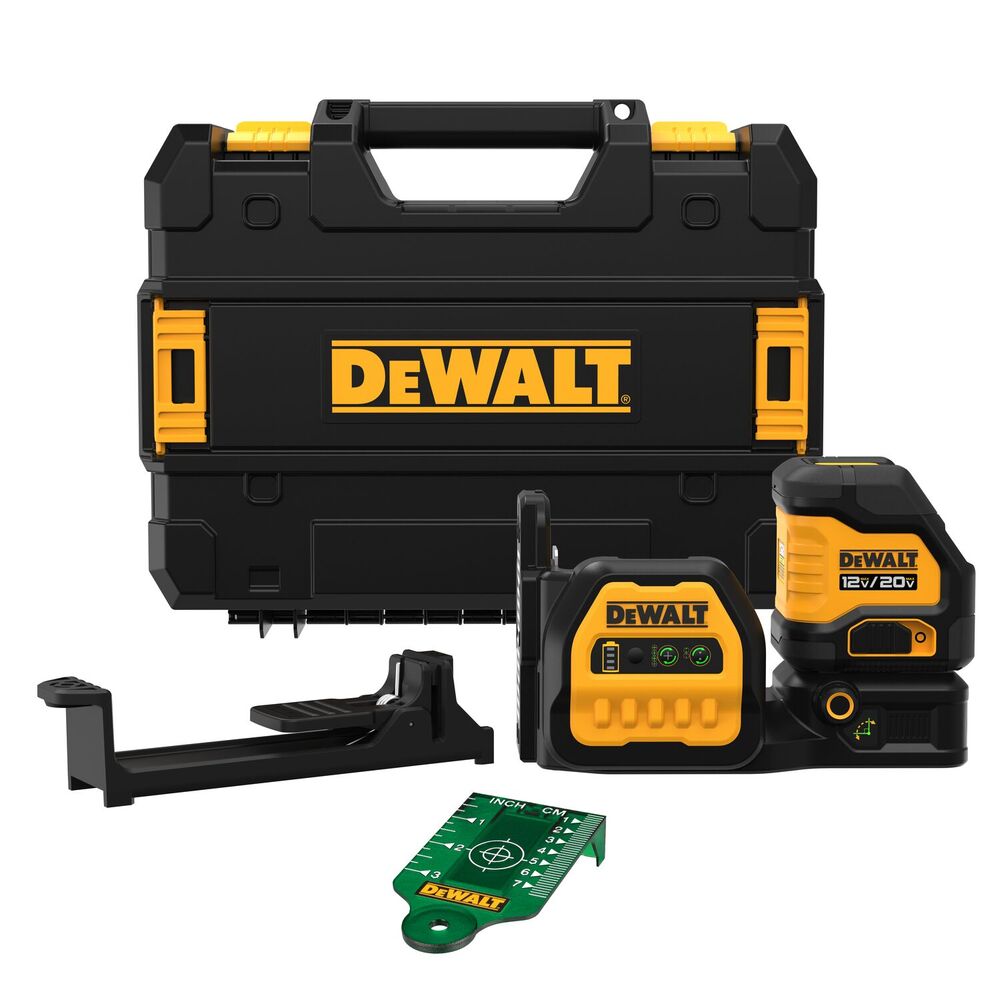
SKU#:162GCL10080CG
MFG#:GCL10080CG
Item pricing and delivery options may vary based on location. Select your local branch for best pricing.
Item pricing and delivery options may vary based on location. Select your local branch for best pricing.
Item pricing and delivery options may vary based on location. Select your local branch for best pricing.
Item pricing and delivery options may vary based on location. Select your local branch for best pricing.
Item pricing and delivery options may vary based on location. Select your local branch for best pricing.
Item pricing and delivery options may vary based on location. Select your local branch for best pricing.
Item pricing and delivery options may vary based on location. Select your local branch for best pricing.

Item pricing and delivery options may vary based on location. Select your local branch for best pricing.
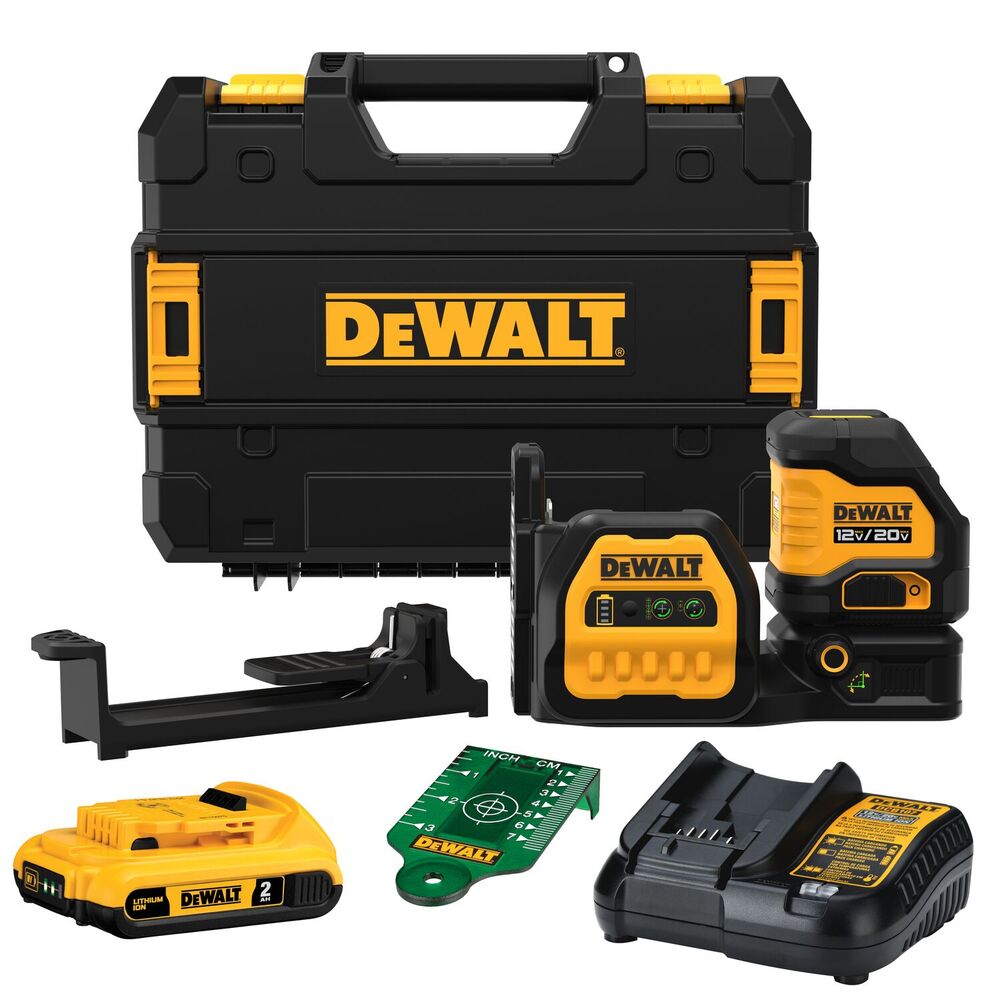
SKU#:162GCL10080CG
MFG#:GCL10080CG
Item pricing and delivery options may vary based on location. Select your local branch for best pricing.
Item pricing and delivery options may vary based on location. Select your local branch for best pricing.
Item pricing and delivery options may vary based on location. Select your local branch for best pricing.
Item pricing and delivery options may vary based on location. Select your local branch for best pricing.
Item pricing and delivery options may vary based on location. Select your local branch for best pricing.
Item pricing and delivery options may vary based on location. Select your local branch for best pricing.
Item pricing and delivery options may vary based on location. Select your local branch for best pricing.
Item pricing and delivery options may vary based on location. Select your local branch for best pricing.