Skip to main content
Site Search
submit search
Sign In
Sign In
Selected Branch
Birmingham - 594
Cart
{0} items in cart
menu
CATEGORIES
brands
locations
services
Request a Quote
Top Deals
1-800-944-8322
Site Search
submit search
Home
/
Building Materials
/
Pipe, Plumbing and Drainage
Pipe, Plumbing and Drainage
Black Pipe and Pipe Fittings
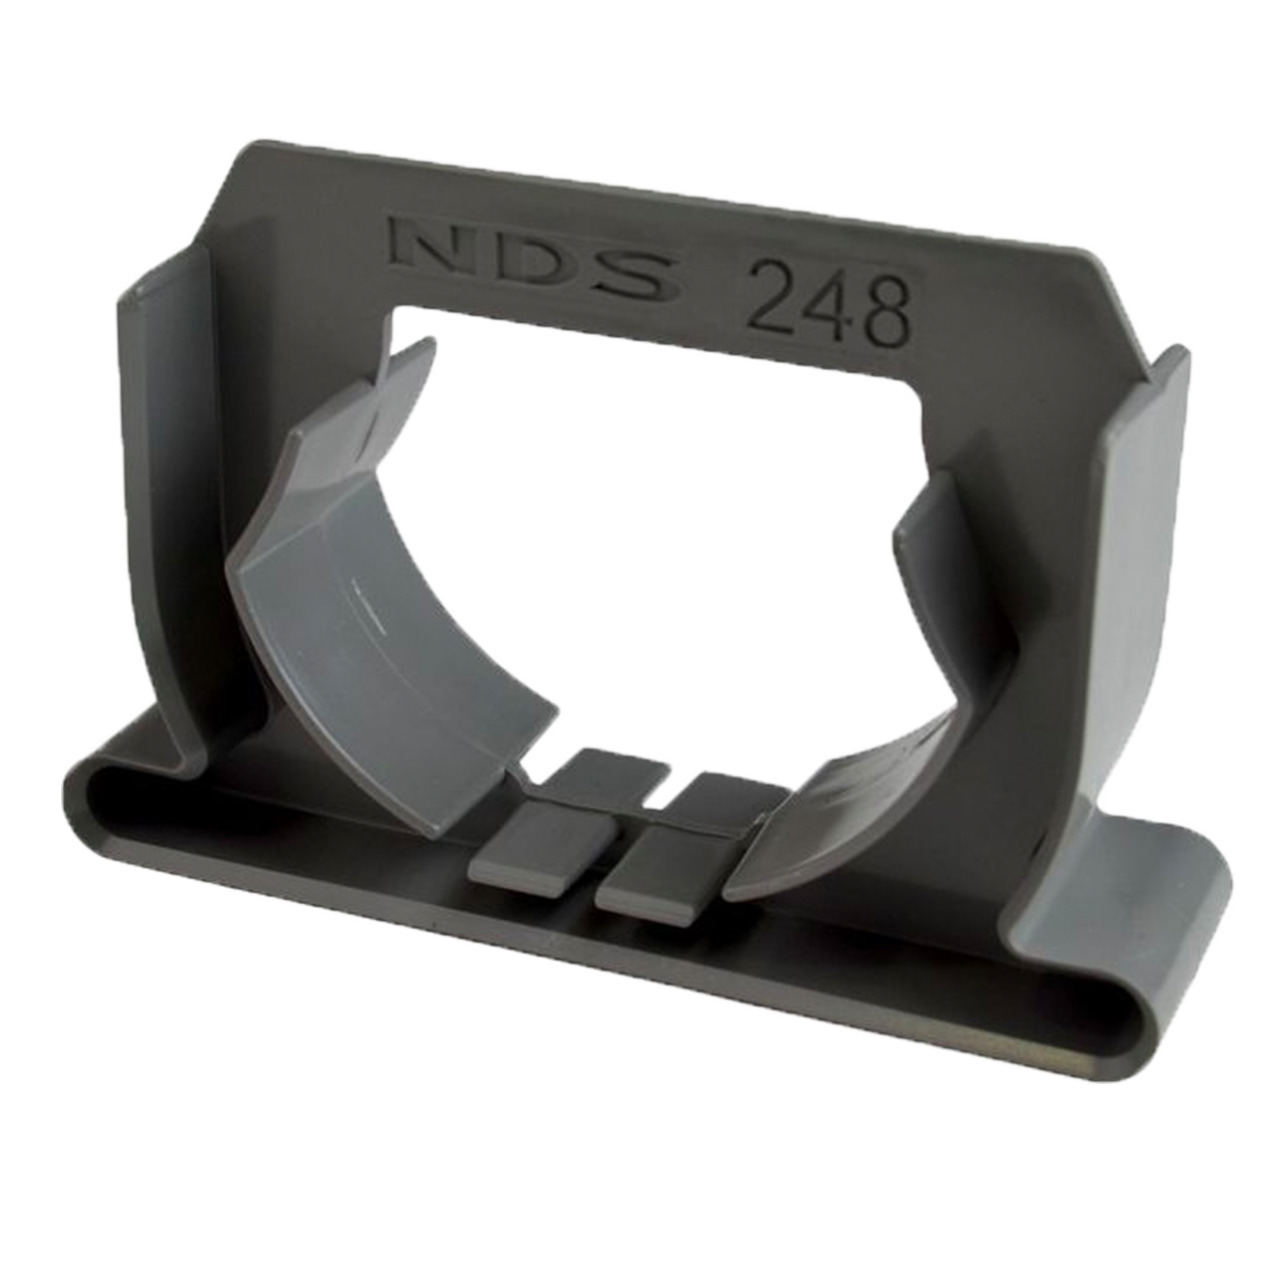
Channel Drain Fittings
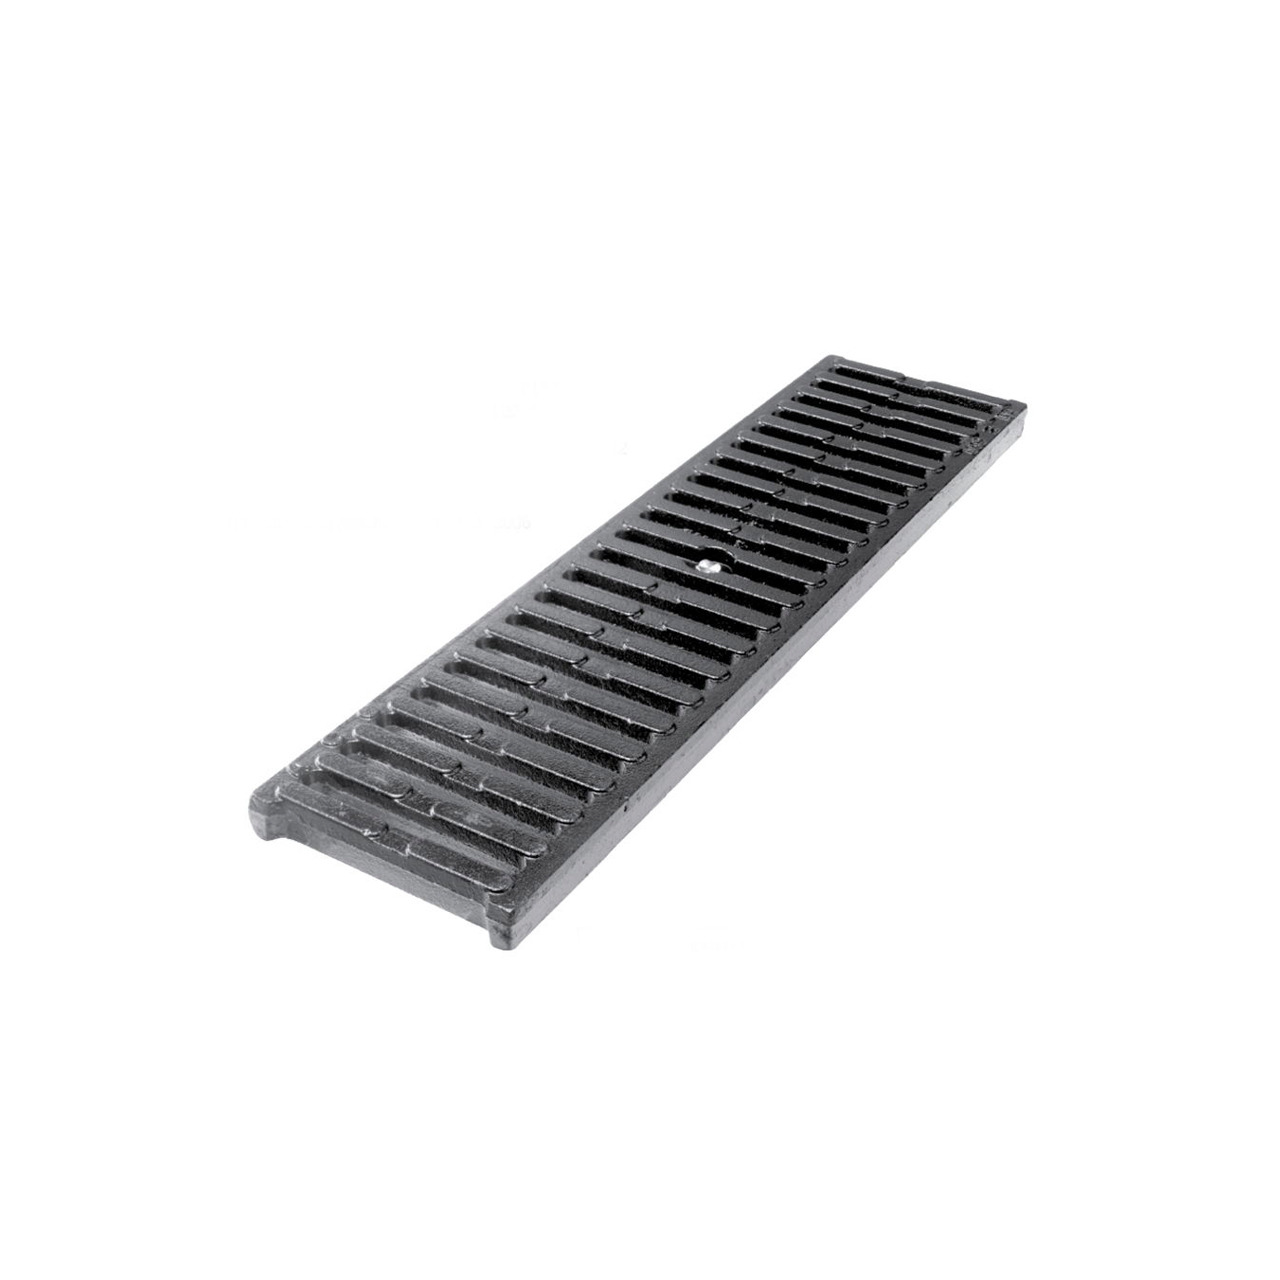
Channel Drain Grates
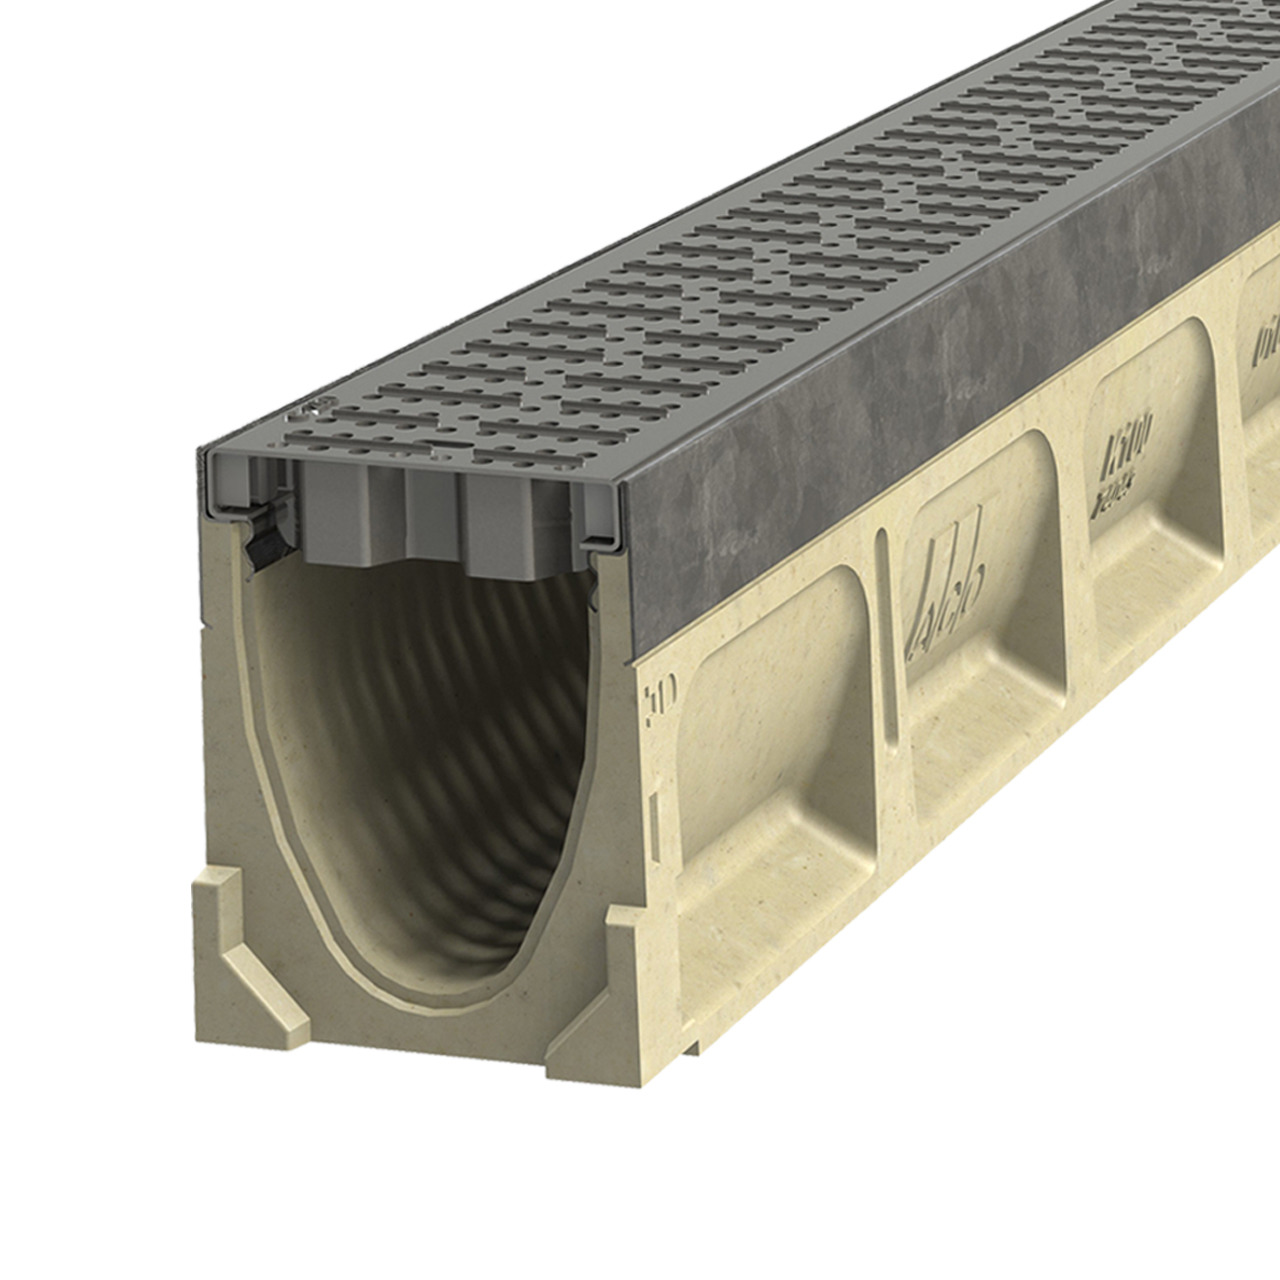
Channel Drains
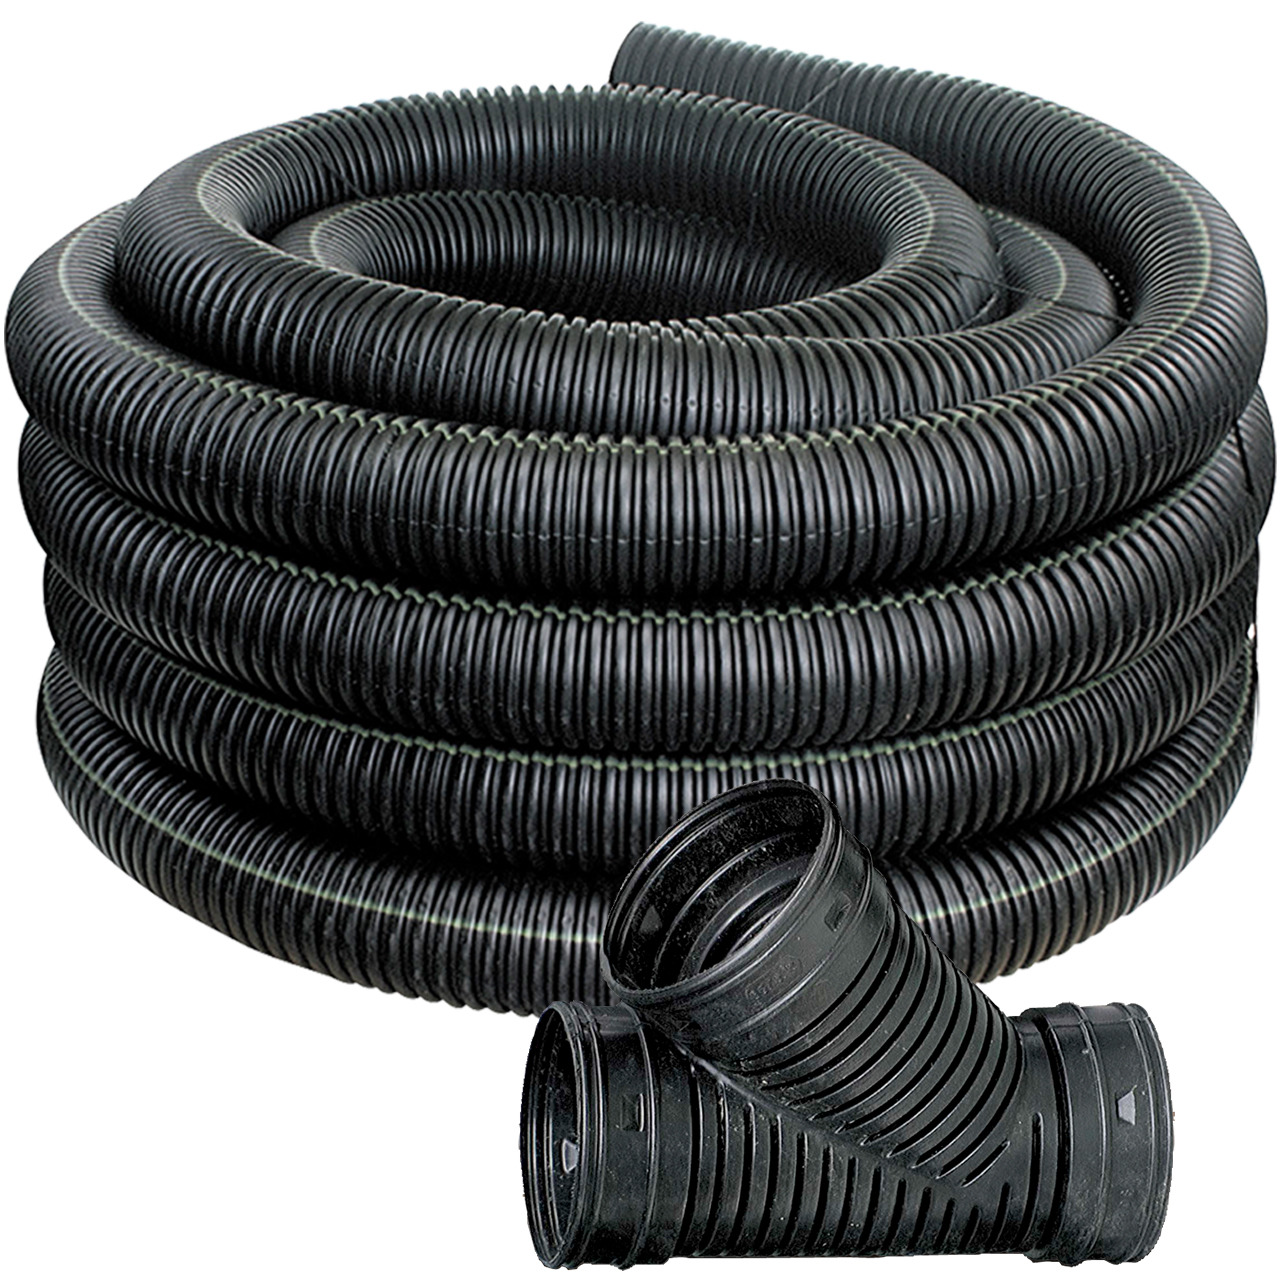
HDPE Corrugated Pipe and Fittings
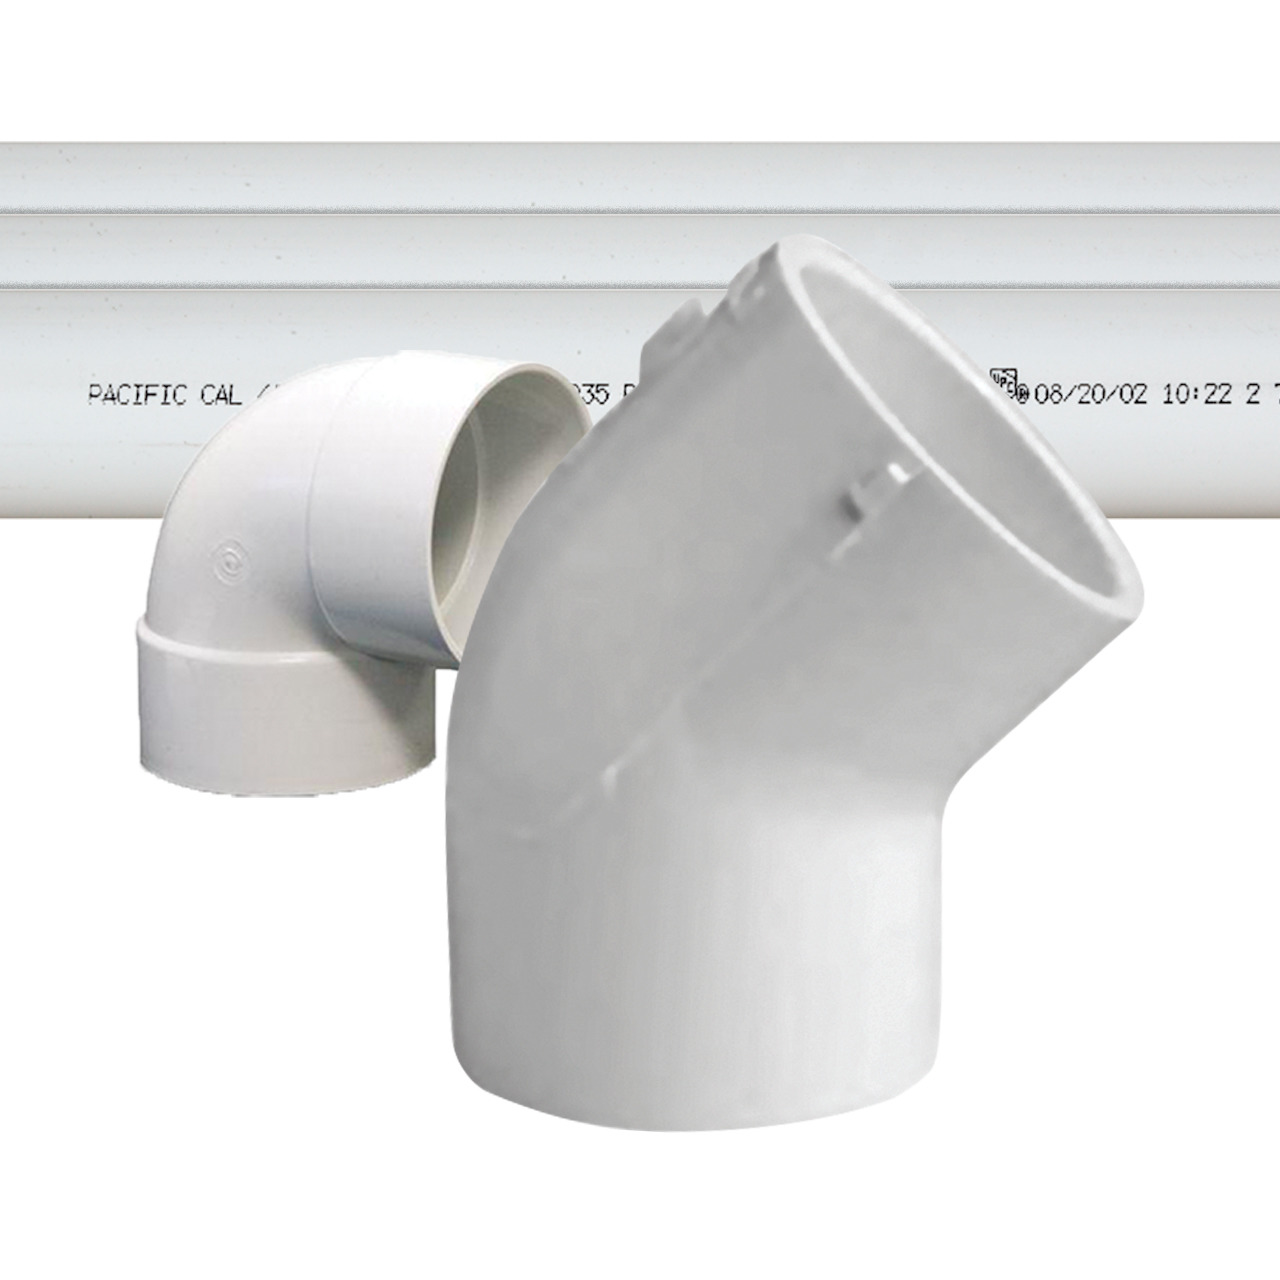
PVC Pipe and Fittings