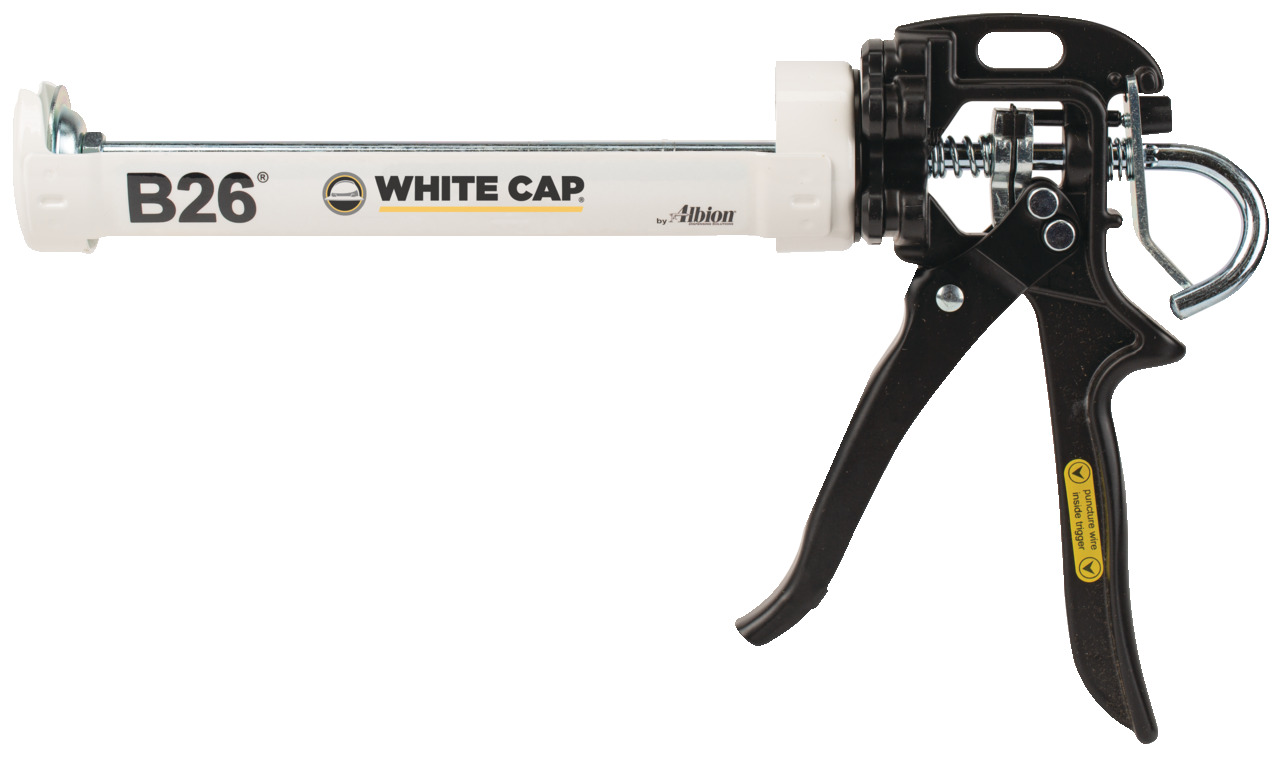
Caulk Gun Accessories
Filter
32 items
content loaded

Price
$77.99 (EACH)
Item pricing and delivery options may vary based on location. Select your local branch for best pricing.
Price
$50.99 (EACH)
Item pricing and delivery options may vary based on location. Select your local branch for best pricing.
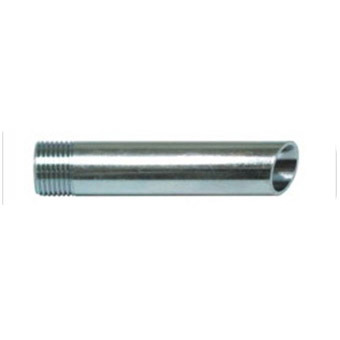
Price
$6.19 (EACH)
Item pricing and delivery options may vary based on location. Select your local branch for best pricing.
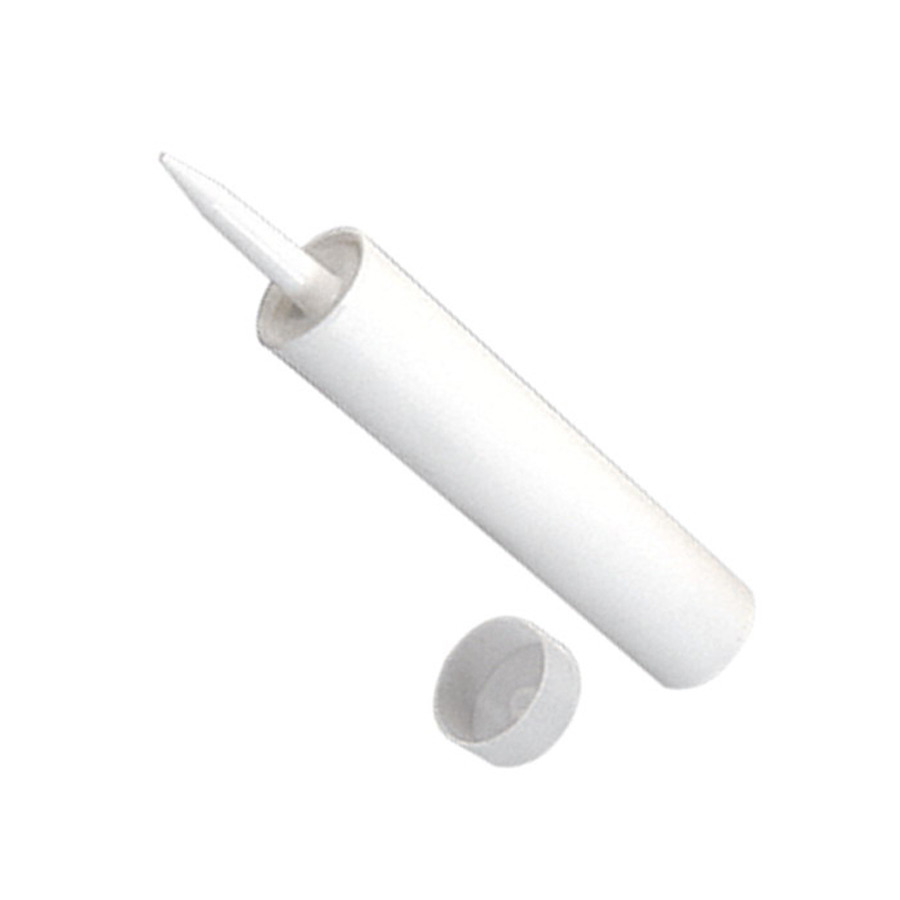
Price
$4.29 (EACH)
Item pricing and delivery options may vary based on location. Select your local branch for best pricing.
Price
$61.99 (EACH)
Item pricing and delivery options may vary based on location. Select your local branch for best pricing.

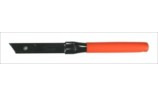
Price
$2.69 (EACH)
Item pricing and delivery options may vary based on location. Select your local branch for best pricing.
SKU#:279CGR
MFG#:421G01
Price
$15.69 (EACH)
Item pricing and delivery options may vary based on location. Select your local branch for best pricing.
Price
$111.99 (GALLON)
Item pricing and delivery options may vary based on location. Select your local branch for best pricing.
Price
$77.99 (EACH)
Item pricing and delivery options may vary based on location. Select your local branch for best pricing.
Price
$50.99 (EACH)
Item pricing and delivery options may vary based on location. Select your local branch for best pricing.
Price
$6.19 (EACH)
Item pricing and delivery options may vary based on location. Select your local branch for best pricing.
Price
$4.29 (EACH)
Item pricing and delivery options may vary based on location. Select your local branch for best pricing.
Price
$61.99 (EACH)
Item pricing and delivery options may vary based on location. Select your local branch for best pricing.
Price
$2.69 (EACH)
Item pricing and delivery options may vary based on location. Select your local branch for best pricing.
SKU#:279CGR
MFG#:421G01
Price
$15.69 (EACH)
Item pricing and delivery options may vary based on location. Select your local branch for best pricing.
Price
$111.99 (GALLON)
Item pricing and delivery options may vary based on location. Select your local branch for best pricing.